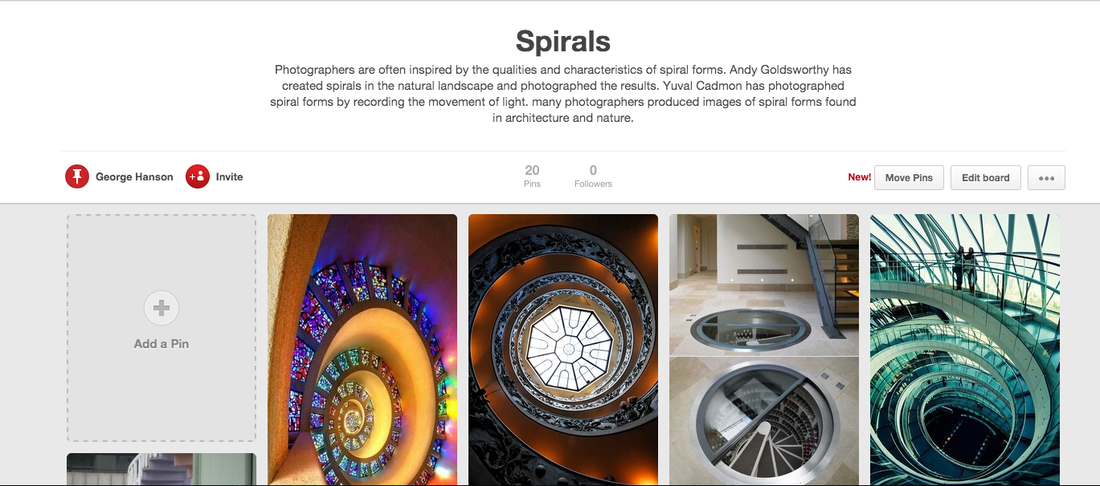
SPIRALS click this to go to Mr nicholls spirals pintrest page


Link to my Spirals Pinterest page.
|
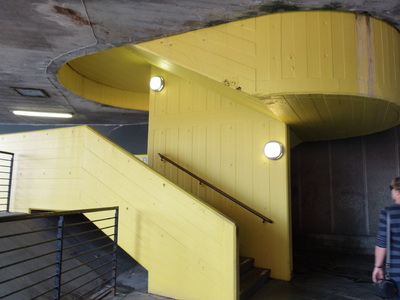
Spirals are shapes that emanates from a certain point and decrease or increase there size from that point onwards sometimes without end. There are many types of spirals you can find and make ranging from Natural and urban to word and machine made and can usually be found in the unlikely of places such as staircases to flats or on snail shells.
|
|
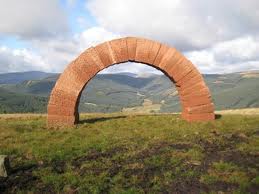
Andy Goldsworthy.
|
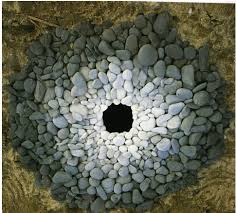
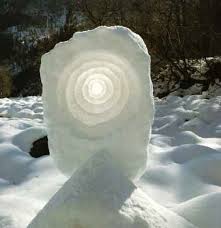
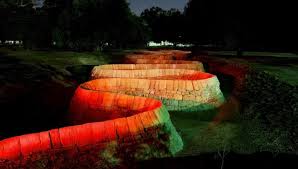
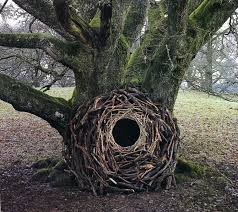
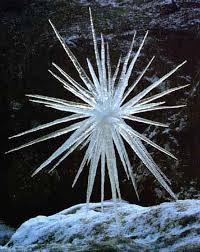
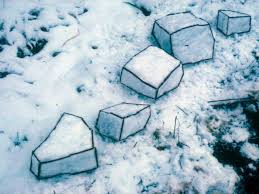
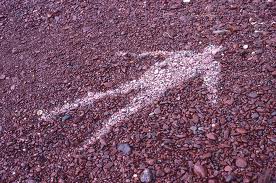
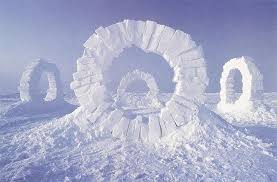
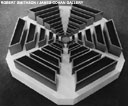
Andy Goldsworthy is a photographer and sculptor who works with only his hands and natural materials. He only uses machines to create "Roof" for his permanent displays so they can with stand long periods of time without being damaged by nature or by hand.
Andy takes photos of his sculptures because all of his sculptures are made out of natural objects that can decompose or be displaced over time as well as this some of the sculptures can last only a few minutes due to natural conditions for example the sculptures made out of ice melt quickly when the temperature rises meaning the sculpture might last just over an hour while a picture of the sculpture |
|


|
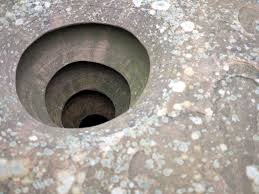
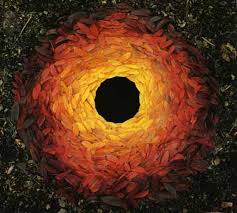
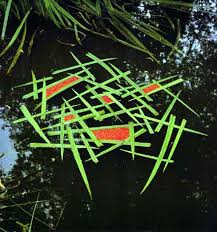
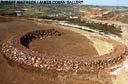
This is my favourite photo that Andy Goldsworthy has done since it is not just one sculpture but four in a single picture. To me it reminds me of a compass showing north, south, east and west as well as being something random at the same time.
|
Spirals in my previous photographs.
|
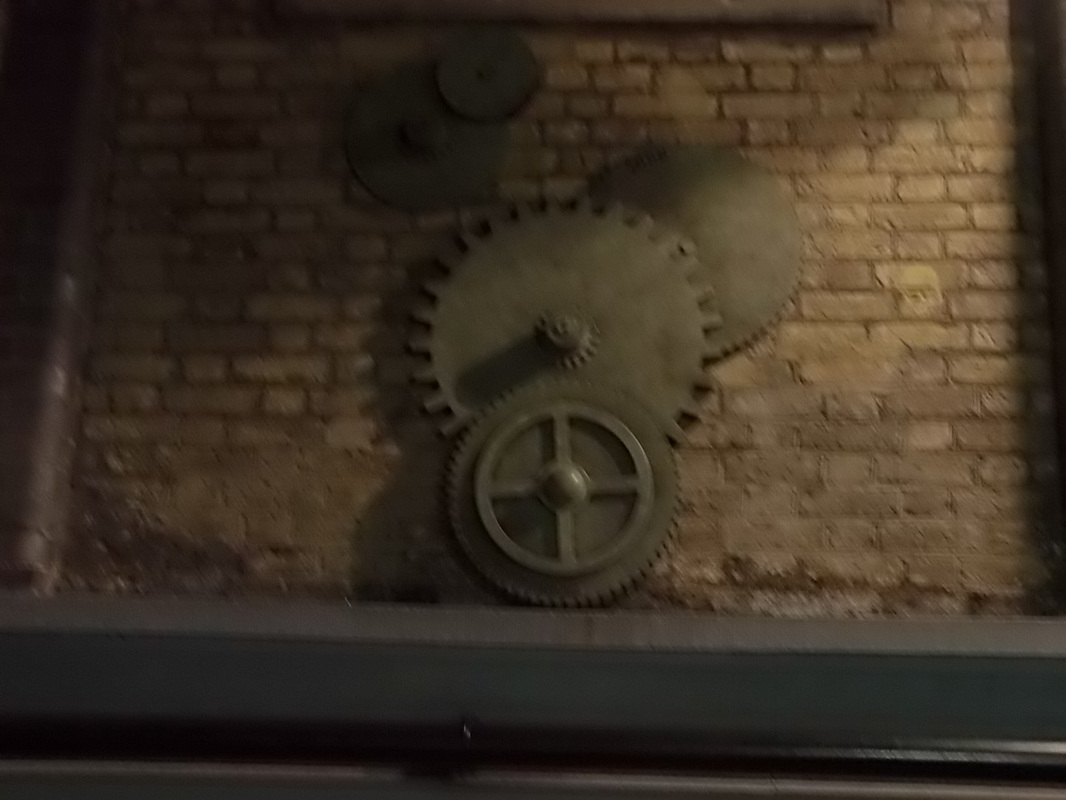
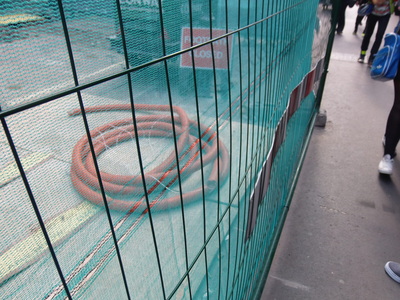
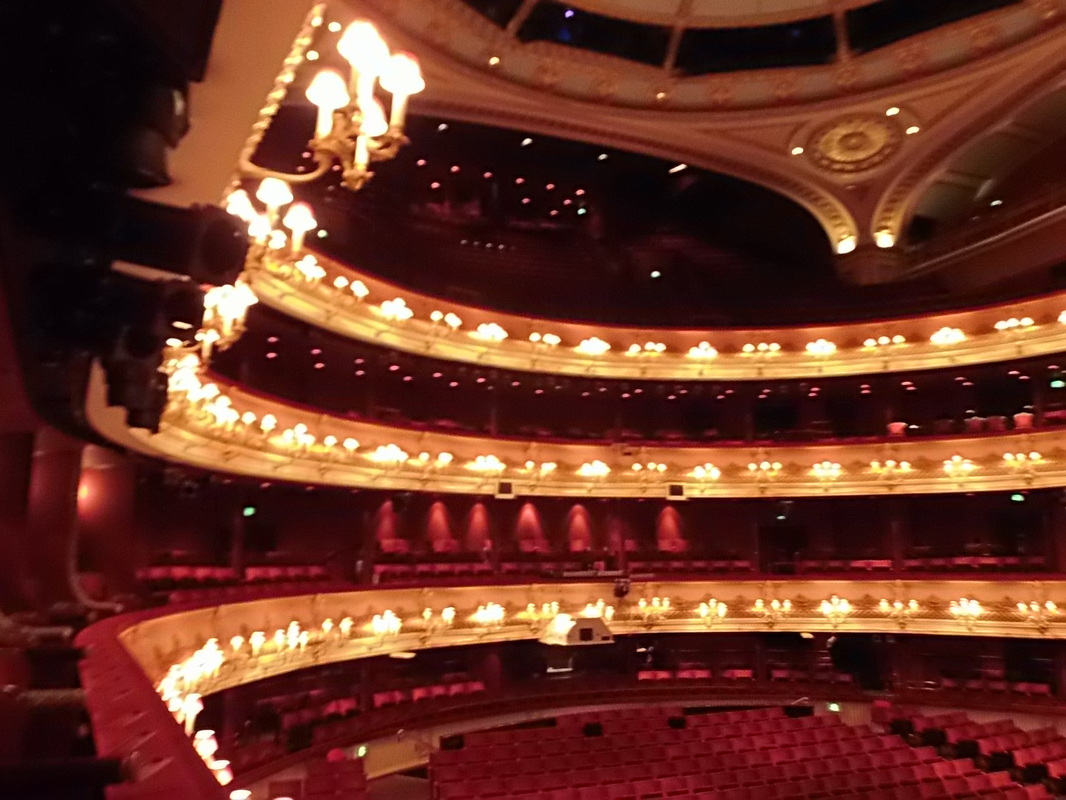
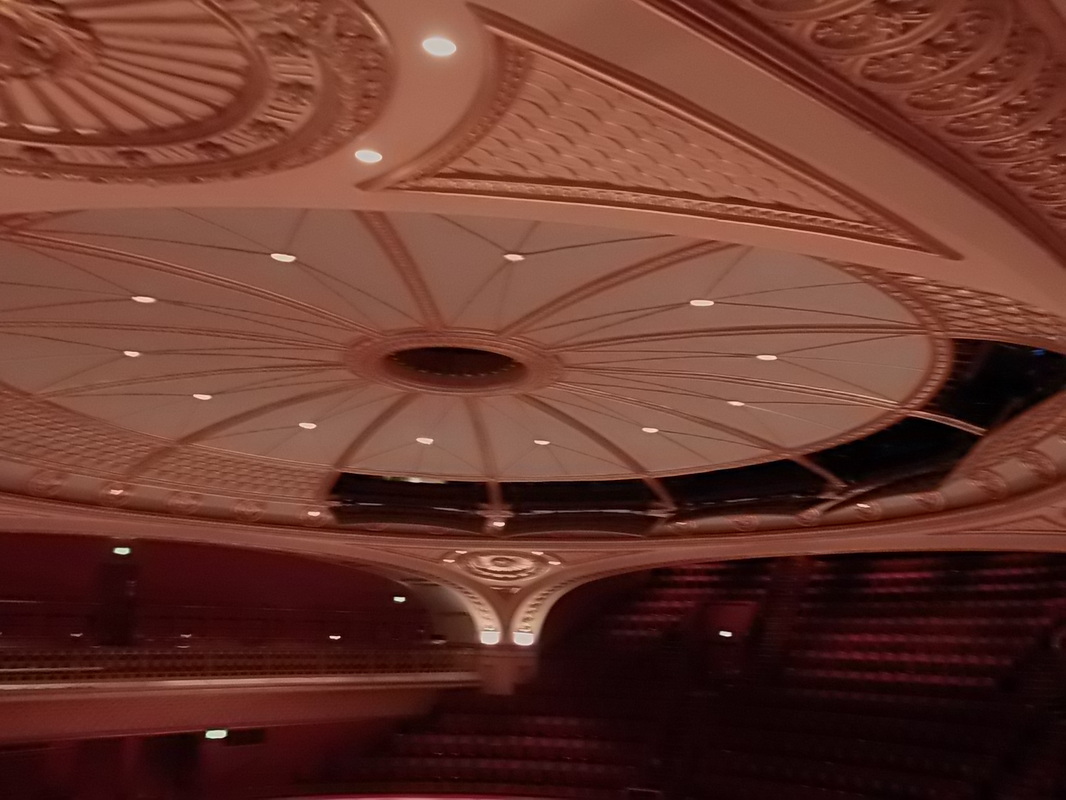
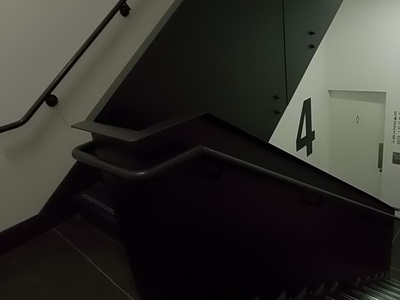
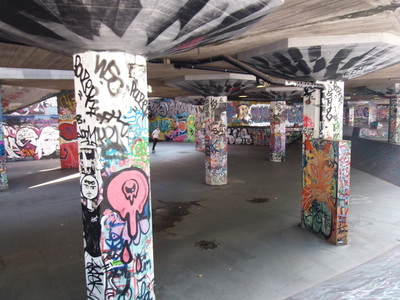
In these photos I was looking at different subjects throughout photography such as fragments, reflections E.T.C and I managed to take photos of spirals without noticing. I have always found the idea of spirals as a amazing and beautiful type of design and I have always thought of it as a thing thats hard to find and photograph.
|
|
Yuval Cadmon
|
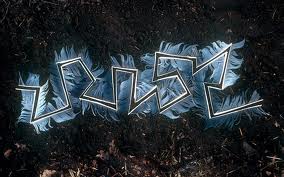
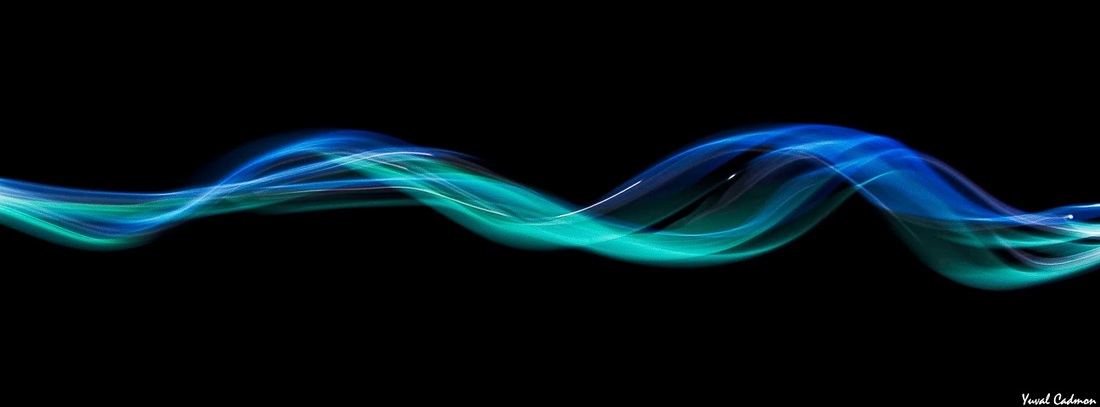
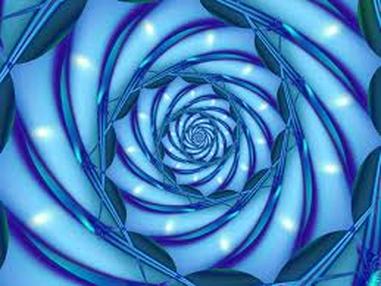
Yuval Cadmon is a photographer who primarily uses light photography and is most famously referensed in his work of traces of light. I personally find his work fascinating to look at since it is very fragmented but it ends up forming spirals and other interesting patterns in many unusual colours you don't see in everyday light photography in strange places on the picture, some of his work might even be some of the best photographs I've had the pleasure of looking at.
|
|
|
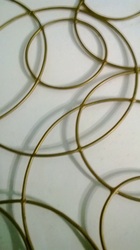
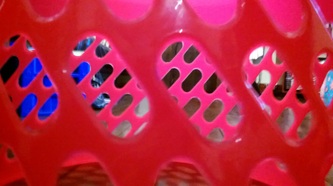
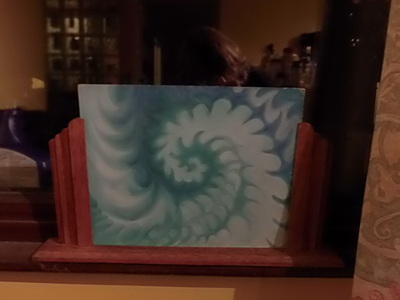
This is my favourite photo by Yuval because of the two different blues mixing together and forming a unique spiral like pattern, as well as this I like the fact that the light blue appears on the bottom of the photo while the dark blue appears on the top this to me makes the photo stand out from the rest although I would like to know how he has managed to do this perfectly since it is nearly impossible to change colours actuately half way through the drawing so he had to use something that could change colours rapidly throughout the exposer.
|
Spirals in light photography.
|
|
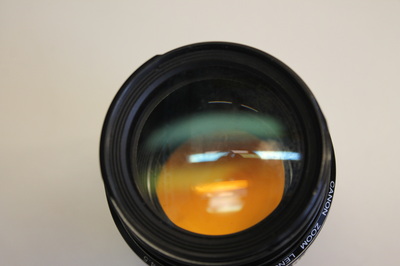
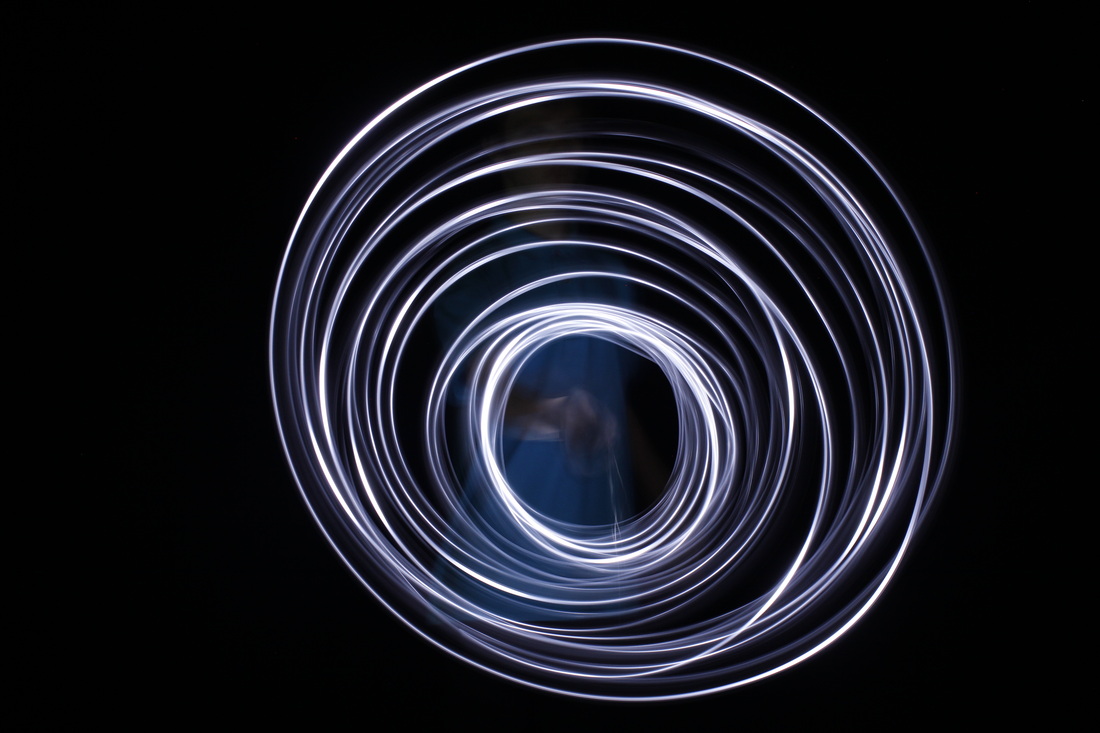
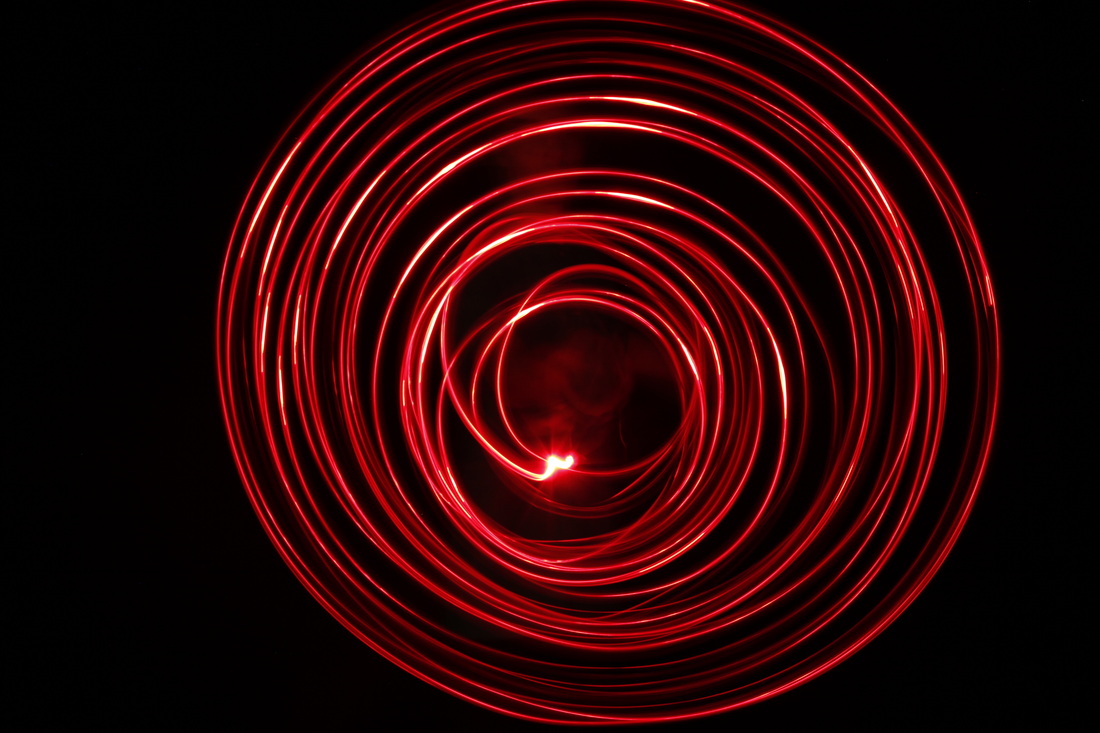
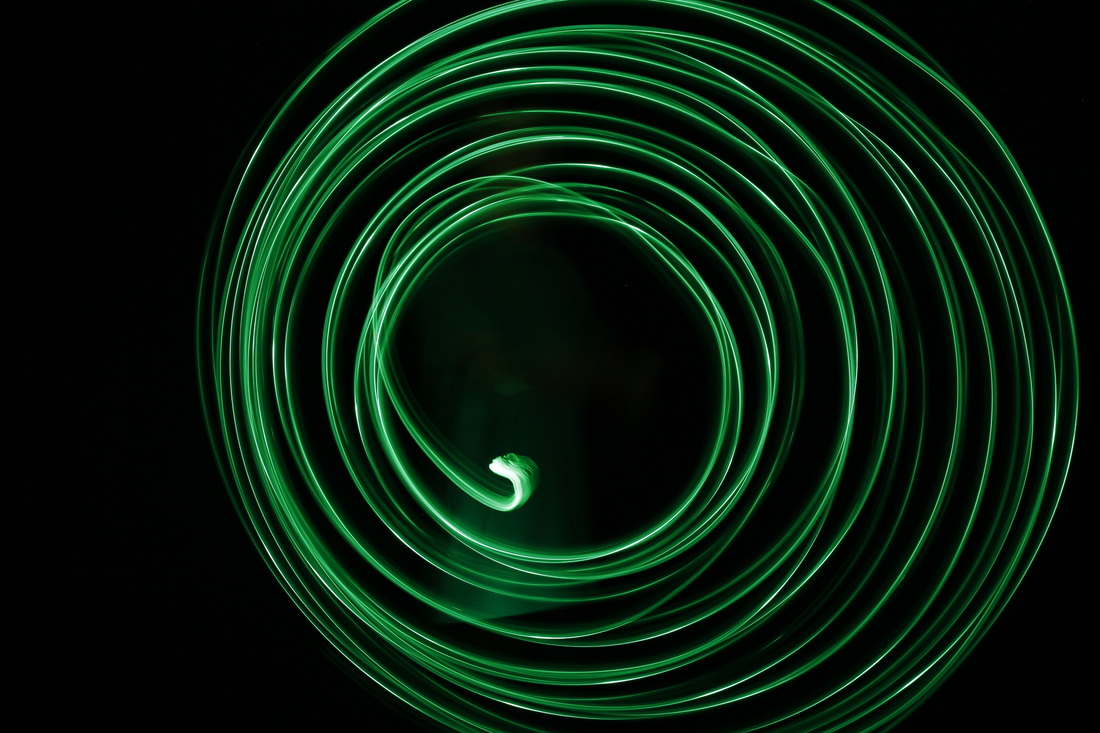
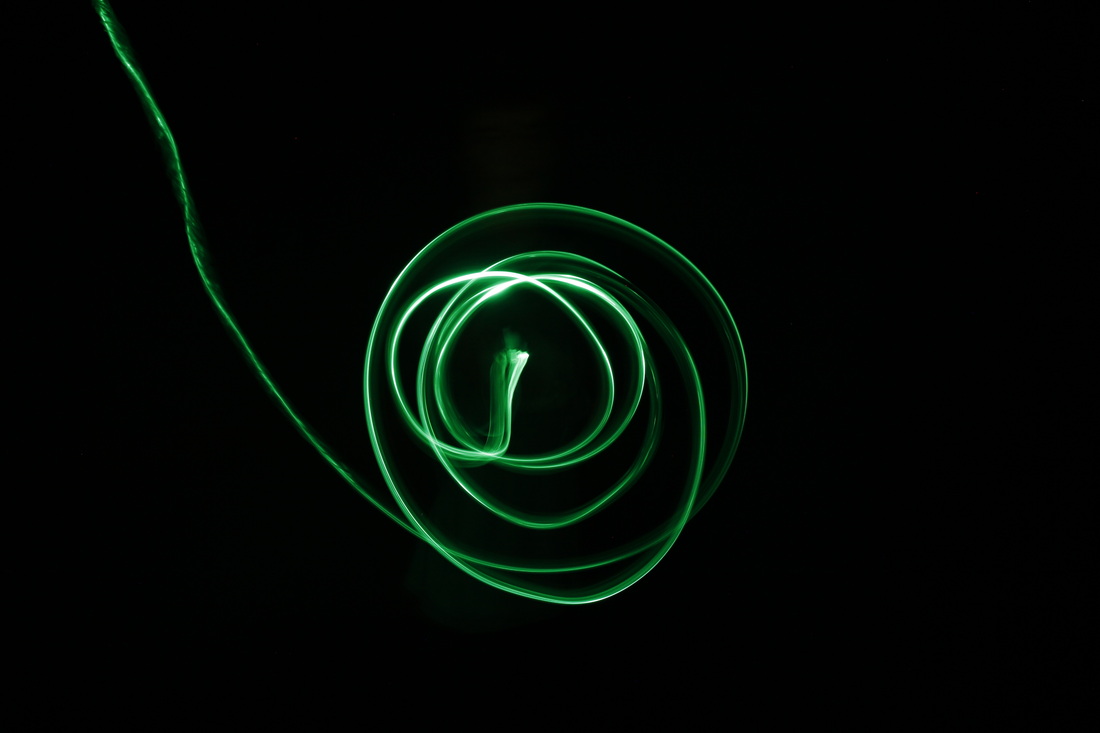
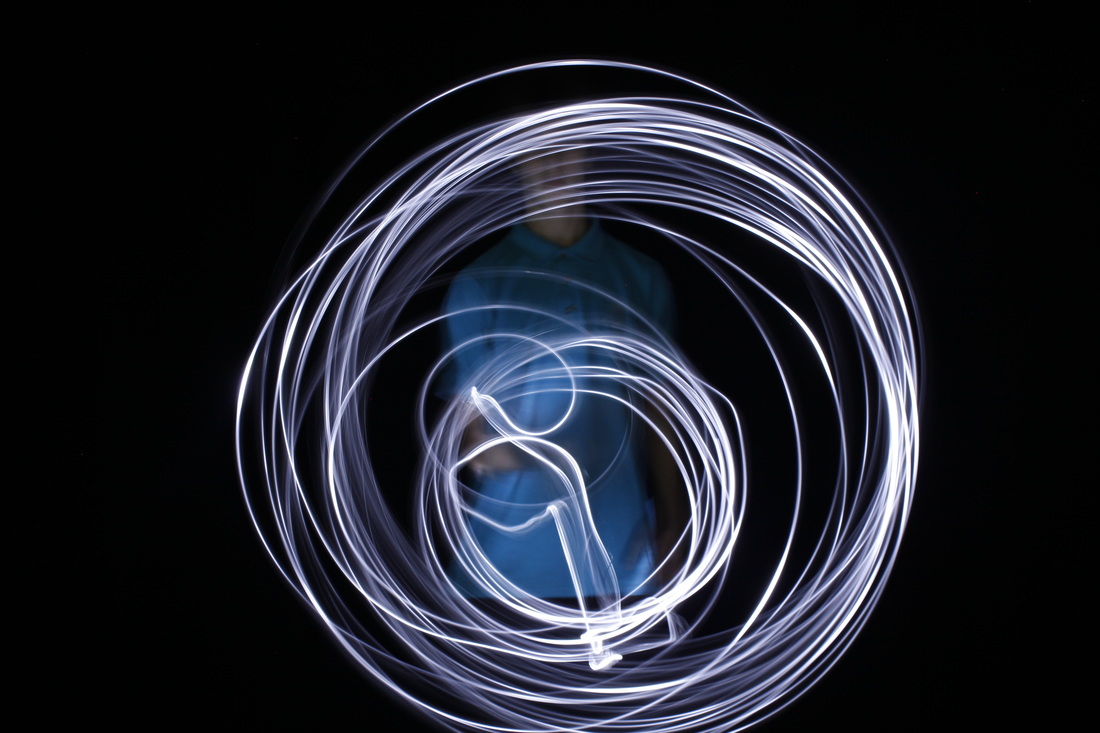
I made these photos using light tape and a tri-coloured bulb light I tried many ways to make them stand out but in the end they all needed a background behind them apart from the distorted light photos where I zoomed into the bulb of to get the affect I wanted which was a blurred picture with circles and curves standing out.
|
|
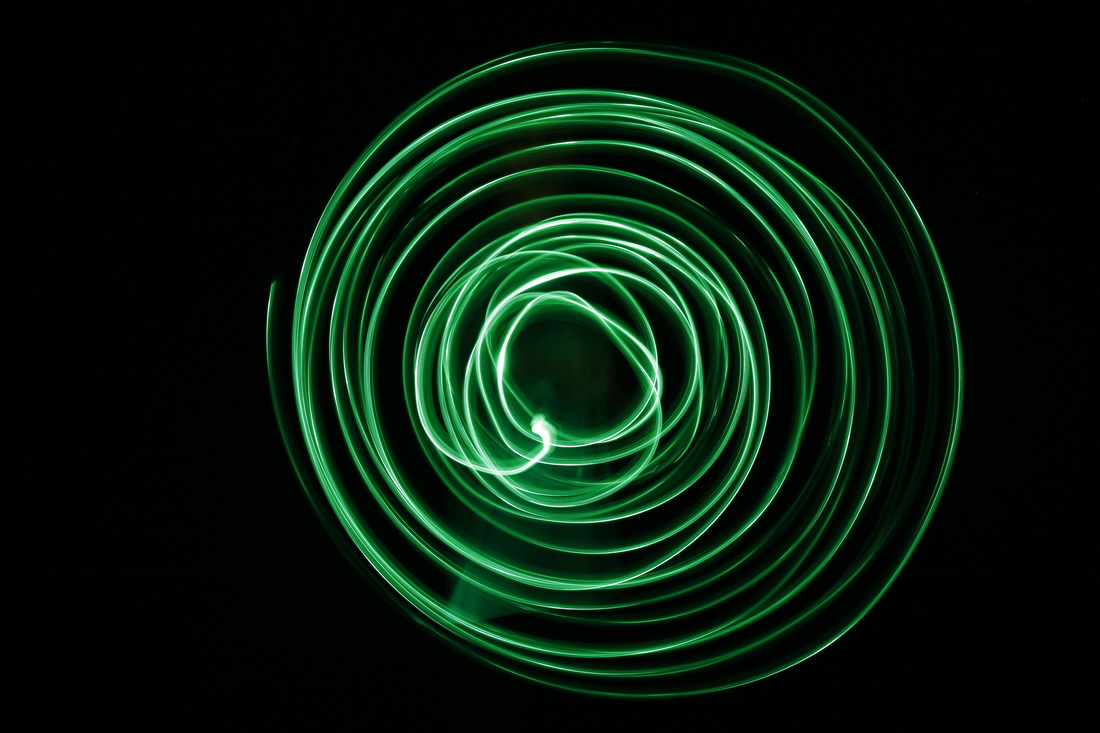
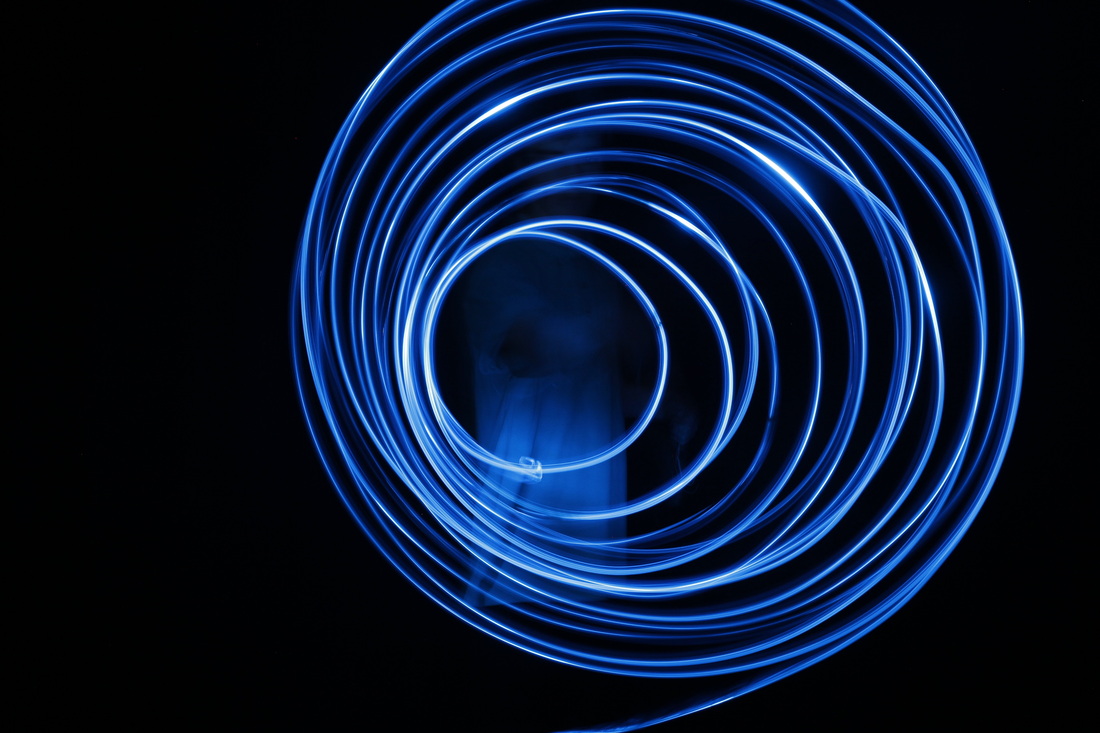
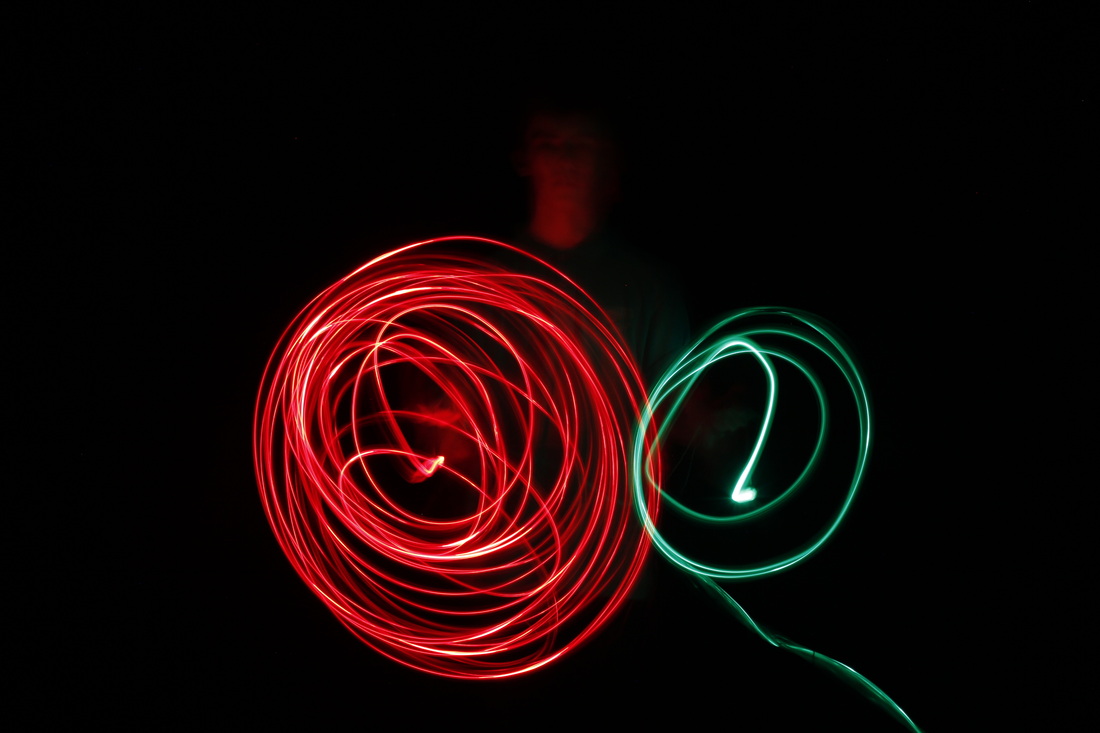
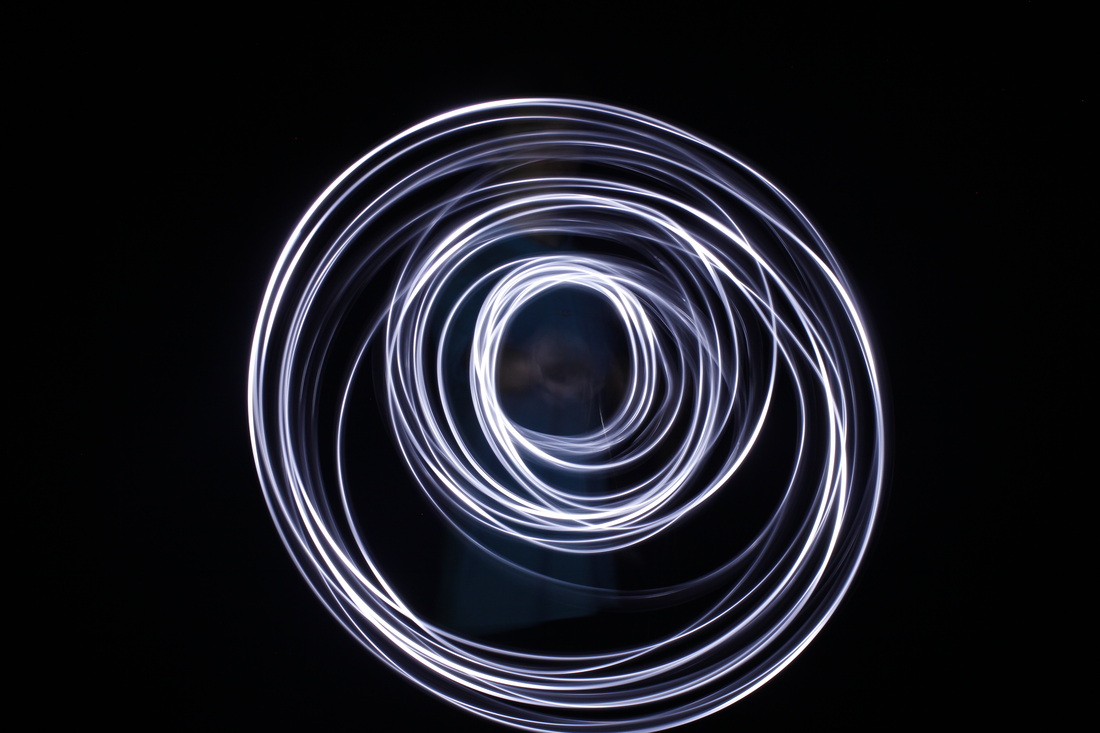
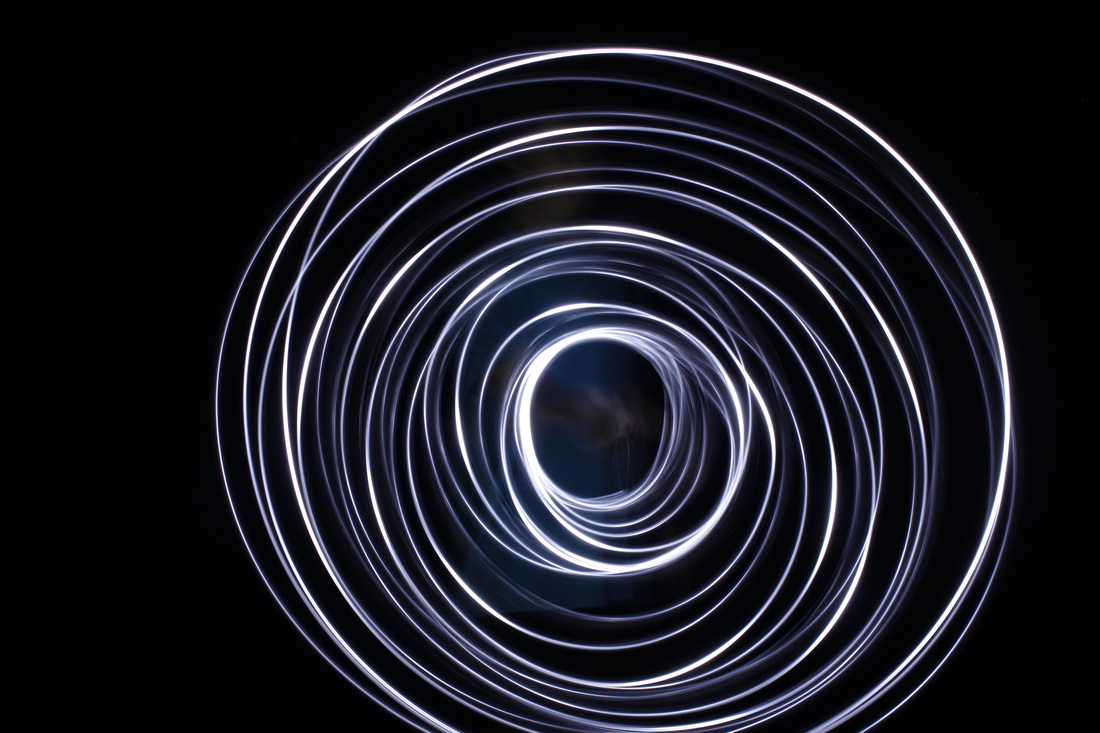
For these photographs me and George Wood worked together to create these which would be near impossible otherwise. What we did was set the camera to long exposer and tie the light to a piece of string and spin it around at a constant speed and with each rotation we would let go of another few centimetres of the string until the camera finally took the photo which lead to the spiral shape found in the pictures to the right. Although some of the pictures have mistakes in due to the string becoming untied and flying off in a random direction during the exposer meaning theres a part of a spiral in the centre of the photo then a line moving away from the middle and out of the photograph.
|
|
|
I then had the idea to create small circular spirals in different colours and sizes for a final piece and combine them using photoshop. The photos to the right are these photos which I used to create this spiral collage.
|
|
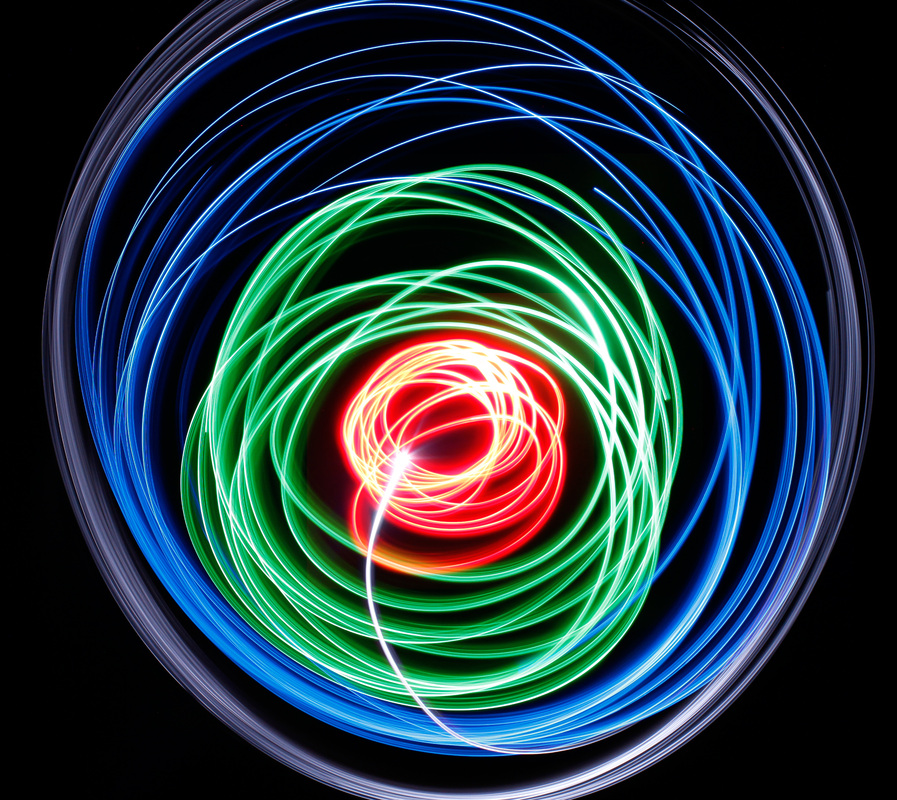
This is my first final piece on the topic of spirals, this is made up of 4 different photographs since trying to do this without photoshop is impossible since the camera exposer is not long enough as well as not knowing how big the last circular spiral ended and the final result would be very messy with parts of the photograph all over the place. As it is I am very pleased with the end result for this idea since this came out better than I expected.
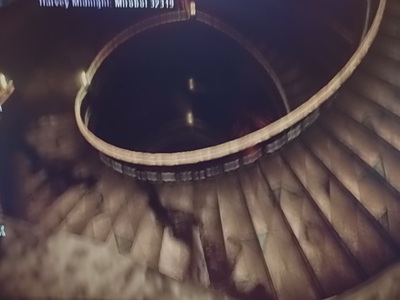
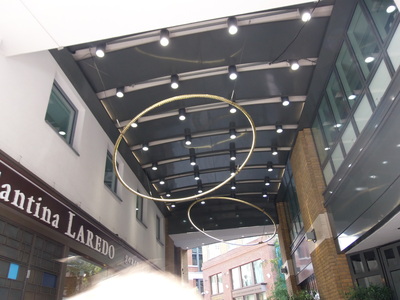
Evaluation of a spiral photograph
|
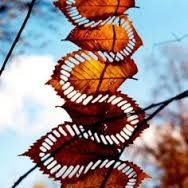
This photo is picture of something I believe you would find a rooftop in a city although I am not sure what it is. I find it clever how there are two separate spirals but nearer to the bottom the spirals look like they interlink but due to the top left corner and the bottom right it looks like it has been set up somewhere with different layers and is tied onto a sort of fabric spiral, if I was to guess it might be on display somewhere.
|
Spirals using collections.
|
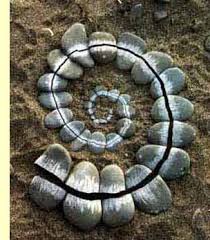
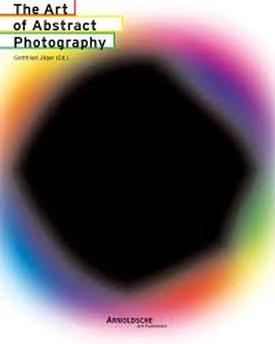
With the help of the book "The art of abstract Photography" I was able to expand on the idea of using collections in my Photography by giving me the idea of incorporating Cyanotypes and Rayographs into the spirals. By using the same or simular objects and slowly moving them further apart or putting larger objects at the end of the spiral which was started with small objects, you can make interesting spirals with different everyday objects normally ignored.
|
|
|
|
With objects found in the Art cupboards I was able to create these spirals by using the same or simular objects. What I found out from this experiment is smaller objects make better spirals since larger objects take up to much space and are hard to place in a spiral formation without them overlapping each other or forming a curved line instead of a spiral. Smaller objects also in general looked more interesting than the larger objects due to the patterns they make.
|
Cyanotypes with spirals
|
For these Cyanotypes I used objects found in the schools dark room, the first of these three was a practice cyanotype to see what worked well and didn't do too well with the light outside, I eventually narrowed down the objects and made a second cyanotype to check which one was the best to use multiple of then made a final Cyanotype of several of the best object on so the spirals of the object overlap on each other.
|
|
|
These cyanotypes I tried experimenting with a range of objects to see what I could come up with and to see wether the shadows of the object would affect the image and which objects would leave behind and what shapes the shadows may make based on the shape and size of the object. I found out that the objects that take up little space but are rather tall works the best since you can fit more objects onto the paper but the shadow of the large object also appears on the the paper like a ghostly image of the rest of the object. all of these cyanotypes will be included as my second final piece as well as this I have decided to keep the tattered edges to keep the experimental look of these cyanotypes.
|
|
My method in creating cyanotypes.
|
|
|
|
First of all I would pick objects with a spiral feel to them then I would arrange them on the paper to fill most of the blank space so the cyanotype will have more circular and spiral shapes on it so I would pick objects with a rounded base, a rounded top to give off a circular shadow or something that could be adjusted into a spiral shape I would then leave it out in the sun for around 7 to 10 minutes depending on how sunny it was on the day.
|
Next I would take the cyanotype carefully back to the classroom sink and wash the paper under water and continuously wash off the cyanotype solution until the outlines of the objects was completely white and the shadows of the objects appeared on the paper, I would then take the paper into the dark room to dry and these are 3 of my end results.
|
Making spirals within my spiral cyanotypes
On photoshop I experimented with my spiral cyanotypes by duplicating the background and slightly rotating the copy which was furthest back this allows me to have the effect in the centre of my cyanotype create a spiral using the slight change in position.
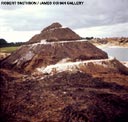
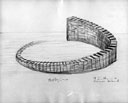
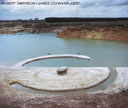
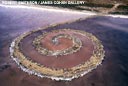
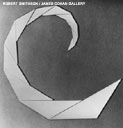
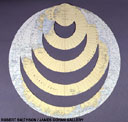
Robert Smithson
|
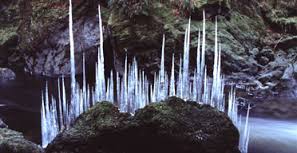
Robert Smithson was born
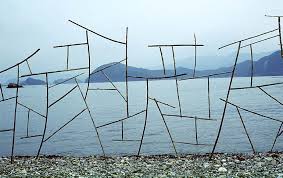
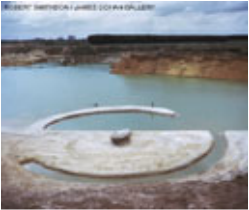
1938, in Passaic, New Jersey and died in 1973, yet he still has had multiple exhibitions even after death the latest being in 2014 at the New Jersey earthworks. He has done different types of art work including earthworks, photoworks, sculptures and drawings and has done a lot that relates to spirals like the pictures on the right. You can look at even more of his work here: http://www.robertsmithson.com/index_.htm |
|

|
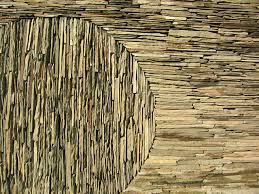
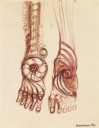
I like this photo by Robert Smithson because the land mass in the water is the same shape as the water in the land mass so they feel out of place and it looks like it could rotate sort of like a lock and I feel as if he spent more time on this and made the land contrast with the water it would make a incredible spiral shape and it would be near enough the same on both sides.
|
My spiral mind-map.
|
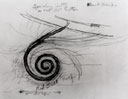
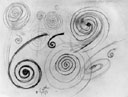
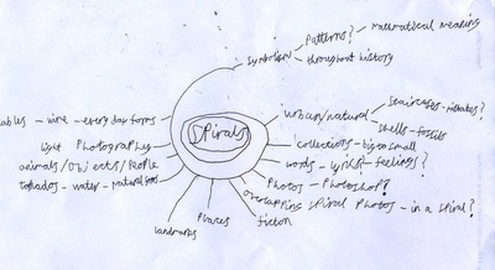
I wrote down all my thoughts on the topic spirals and any ideas about the topic I wish to research and look up. I always think of spirals as a mathematical problem which contains the basis for all life which has been used in many different ways and depict different things and they interest me since they have so many hidden meanings which many fail to see.
|
|
Focusing on techniques and processes
After using many different techniques to take different spiral photos I have decided to explore different ways I can use techniques that I have already used. The main one of which I want to work on is long exposers and light photography since I feel like there is many different ways I could go from here one of which is leaving my camera outside for a whole day and mapping the sun every hour or every few minutes.
Light photography
|
|
These are the original photos I had taken in the broadcast studio which I would later edit into the pictures below on photoshop. At first I planed to edit the shapes into a cross in a circle but I then wanted to carry experimenting with light photography and see what else I could achieve with this idea and how I could improve on my previous ideas as well as make my work more interesting to look at.
|
|
Using the images above I created these photos by experimenting on photoshop and seeing what I could come up with the photos I had taken my first idea was the cross in the circle but I then decided to try making one with myself as a key component to the image so I looked at what would look good and make me stand out in the background as well as stand out on it's own which resulted in the picture below.
|
|
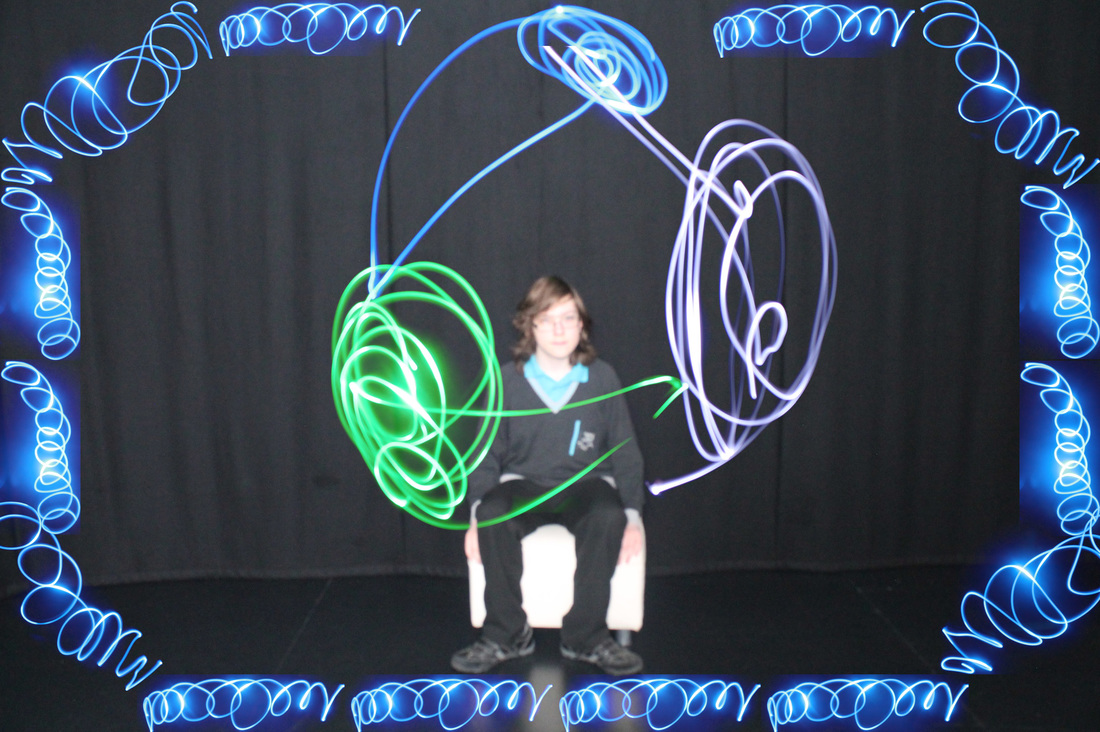
This picture was originally ment to be a third final piece but due to the image of me on the stool being out of focus to improve this photo I would need to take a even better photo of myself and re-photoshop the image to move all the spirals into place although this would take to much time overall and I would like to try out even more techniques to take spiral photographs than just light photography.
Using circular objects around the school to create spirals.
|
These photos are the end result of me looking throughout the school for circular objects to take photos of so I could experiment with them and see what I could do in photoshop to overlap them onto each other and create spirals with many circular objects to choose from.
I could only explore both the science and the art/english blocks so my range of the school was limited while taking the photos but even through my limitations I was happy with the photos I was able to take, although to improve on these I would need full access to all of the school to maximise my amount of photos and get even more interesting photos from the other 4 blocks. |
|
|
|
These are 5 photos which I created using the circular objects I found around school the first of which I merged 3 of the objects together to see how it would turn out (the light with the marks on) the second I put all 5 of the Tallis habits pictures on top of each other (the picture with the magnifying glass) the third I put 3 everyday objects on top of each other to create a spiral like ripple effect (picture of the the no smoking sign with the tires) the 4th I used objects to replace parts of the drum to create a ripple look as well as using a interesting concept and the firth picture I used another ripple like spiral as well as using unusual objects together which are not usually looked at and the final picture I used a bunch of very different objects to create another ripple effect photo, I am planning to do this idea for my third final piece.
|
|
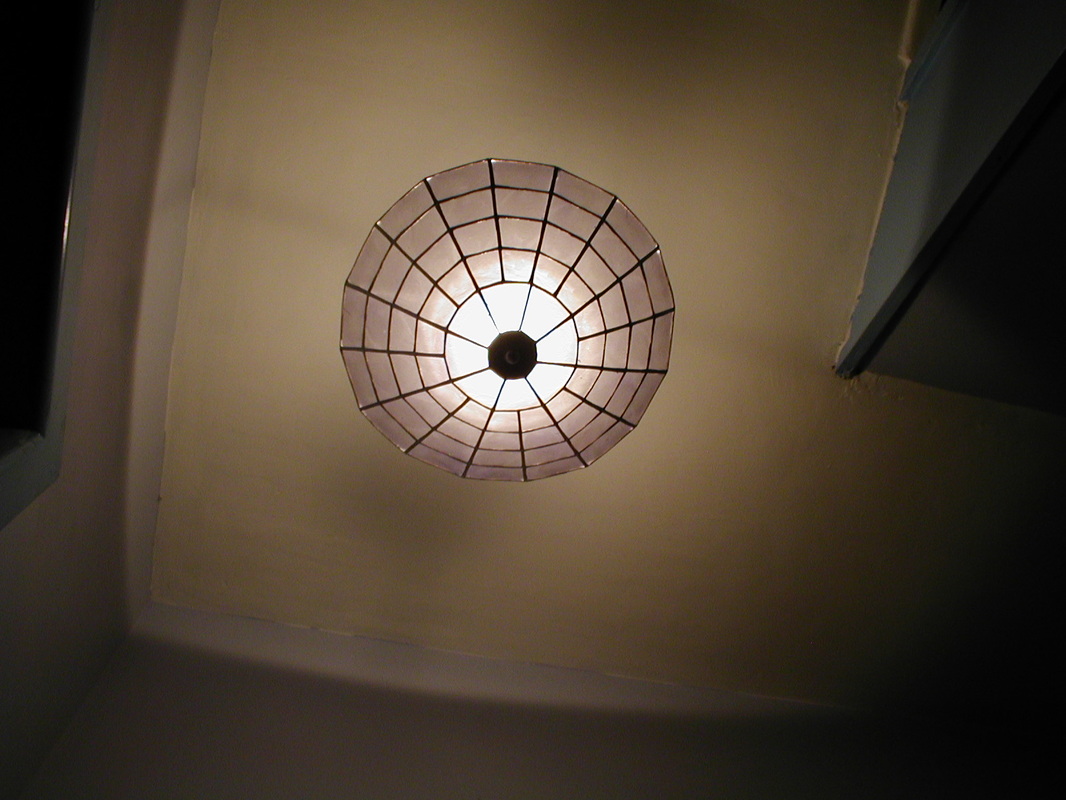
The photos on the right are part of my third final piece, I was going to use all six of the photos but in the end I only used four due to time restraints which are two circular centred photos, the bike photo and the photo of the light in the ceiling. I planned that they would be set up on a 3 by 2 grid and the centre of the photo would be the same for each pair to make a pattern between each photo, although now this pattern is no longer visible unless you look at these six rather than the final piece, this would be something I would improve if I had more time.
|
|
Using a spiral stencil to take photos
|
To make these photos I got a piece of A-4 paper and drew a spiral onto the paper then continued to cut out the spiral, I then layed them on different backgrounds throughout the school to get as many interesting shapes and colours as I could in the background. for the white background I shaded the side of the stencil I wasn't using with a pencil then placed it on the white background then took the photo.
|
|
Using a spiral wand to take photos
|
For this photos I used a spiral wand to take photos of spirals using the reflections and shadows it gives off and zooming in on the holographic paper as well as taking photographs while spinning it although the first few pictures are not as good since I needed help over all with holding the wand and adjusting the camera at the same time as trying to keep it still and in shot although I begin to get the hang of taking the photos at the end of the shoot.
|
|
Final pieces
|
These photos are what my final pieces will look like when they are displayed in the gallery in Thomas Tallis I am happy that they have turned out so well. These are not the only final pieces I have but these are the only ones I have had a photo taken with one of my other final pieces is all of my cyanotypes and the other 3 ripple spirals from above.
|
|
Unit 2 final evaluation.
Throughout Unit 2 I have tried to make my ideas as complexed and interesting as possible so I could experiment and adapt my ideas as much as possible through the unit so I can clearly show how I have improved and how I can develop my ideas even more if I had more time, although I have found trying to get ideas that relate to the topic rather hard since my last two topic were very simular fortunately I was able to overcome this and create three final pieces each with a different technique. Overall I have really enjoyed the topic spirals and I feel that my skills have progressed massively due to me stepping out of my comfit zone and selecting a area which was almost completely alien to me and I hope my progress also shows up in my work as well. To improve I would need to use even more techniques I haven't used yet or recently to keep my skills on level with each other as well as using my time to improve the work I couldn't quite finish or I had trouble completing. In the end I am going to miss doing photography at Thomas Tallis but I hope that I will be able to do it at 6th form of which ever school I am going to and even if that does not become reality I will keep doing it as a hobby.
